- FACIAL KITS
- KOREAN GLASS SKIN CARE
- HYDRA FACIAL PRODUCTS
- FACE SERUMS
- DTAN & ALKALINE
- SEPARATE FACIAL PRODUCTS
- BEST SELLING PRODUCTS
- SUN PROTECTION, DAY & NIGHT CARE
- CTM KITS
- DTAN & ALKALINE
- BODY POLISHING KIT
- FACE MASKS & PACKS
- FACE SHEET MASK
- FACE TONERS
- FACE WASH & CLEANSERS
- MOISTURIZER, LOTION & CREAM
- NANO BASED SHEET MASKS
- VITAMIN C RANGE
- AMPOULES
How to Use a Mummy Mask & Its Benefits: Full Guide Step by Step

How to Use a Mummy Mask & Its Benefits
If you have been wondering about how to use mummy mask & its benefits, this full step-by-step guide covers everything you need to know. I would never recommend a product I hadn’t tested on my own face. But no format has filled my inbox like the mummy mask. “Does it actually work?” “Is it a gimmick?” “Do I wet it first?”
So this is the guide I wish someone had handed me. If you’re searching for how to use a mummy mask & its benefits, you’re in the right place. I’ll cover what it is, how to apply it properly, what it can and can’t do, and how the brands in this space compare. No filler and no miracle claims.
What Exactly Is a Mummy Mask?
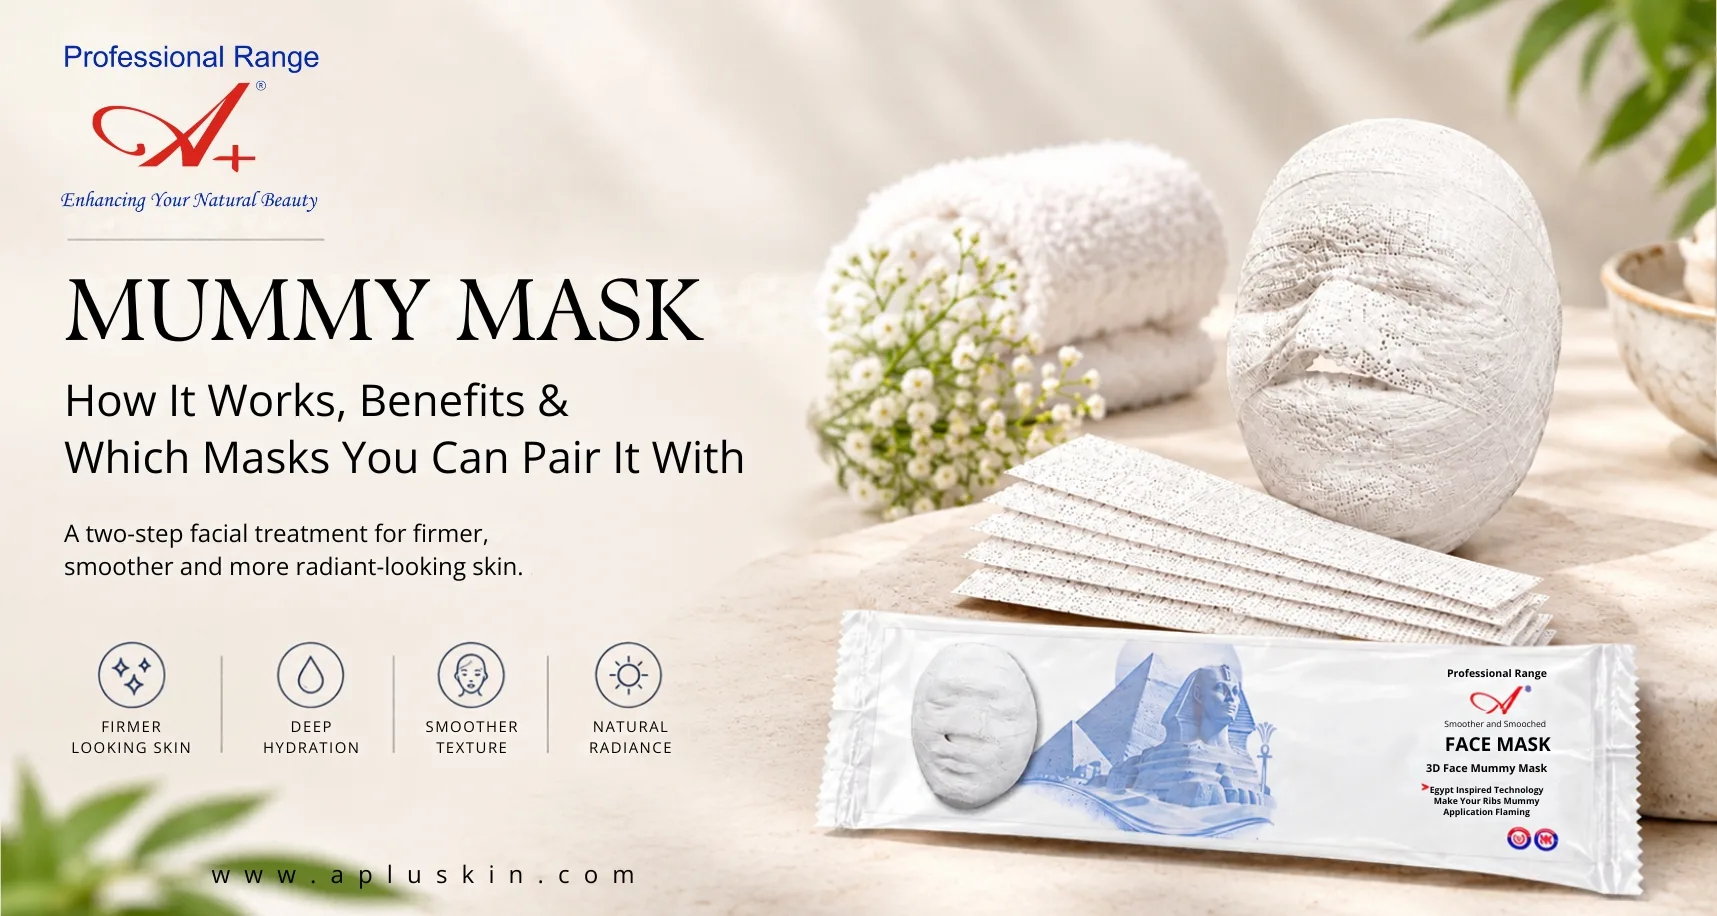
A mummy mask is a strip-based face mask. Instead of one sheet cut to the shape of a face, you get several thin strips of soft, gauze-like fabric. You soak or dampen them in a serum, essence, or water, then lay them across your face in overlapping layers. The finished look is a bit like a bandage wrap, which is where the “mummy” name comes from.
Strips have one real advantage over a single sheet: they adapt to your face. A one-piece sheet mask often gaps around the nose, chin, and jawline. Strips can be placed to hug your cheeks, forehead, and jaw, so more of your skin stays in contact with the product.
The A+ Advance 3D Mummy Mask I tested comes as a 5-strip pack, which is enough for a small, repeatable routine. I’ll come back to it later. First, the fundamentals.
How to Use Mummy Mask & Its Benefits: The Short Version
Before the detailed walkthrough, here’s the quick answer to how to use mummy mask & its benefits:
- Cleanse your face and pat it dry.
- Apply a hydrating toner or essence.
- Soak the strips as the pack instructs, then layer them over your face.
- Leave them on for the recommended time (usually 15–20 minutes).
- Remove the strips, massage in the leftover product, then moisturise and use sunscreen in the morning.
If that’s all you need, you can stop here. If you want to get real results rather than a wet face and wasted product, keep reading.
Step-by-Step Guide: How to Use Mummy Mask & Its Benefits You Can Expect
Over two years,s I’ve refined my own routine. This is the version I give my readers.
Step 1: Start with a clean face
Masks work best on clean skin. Use a gentle cleanser that doesn’t strip your barrier. If you wear sunscreen or makeup, double cleanse. A mummy mask over a layer of oil and dust just seals the dirt in.
Step 2: Prep with toner or essence
Pat on a hydrating toner while your skin is still slightly damp. This helps the mask’s active ingredients sit better, and it makes the next steps feel more comfortable.
Step 3: Prepare the strips
Read the instructions on your pack, because brands differ. Some strips come pre-soaked;d, others need a serum or water. Never assume. Use the product the way the manufacturer designed it.
Step 4: Layer the strips
Place the first strip across your forehead and smooth it outward. Lay the second strip across the cheeks, overlapping slightly. Use the next strips for the nose bridge, chin, and jawline. Press gently so there are no air gaps. Leave your eyes and lips free, and avoid placing strips too close to the eye area unless the product is specifically meant for it.
Step 5: Relax for the recommended time
Set a timer. This is where most people go wrong, and I’ll explain why in the mistakes section. Lie back, play something calming, and don’t scroll for 20 minutes with your face tilted.
Step 6: Remove gently
Peel the strips off slowly. Don’t rinse the leftover essence. Gently pat and massage it into your skin with clean fingertips.
Step 7: Seal it in
Follow with a moisturiser. If you’re doing this in the morning, finish with sunscreen. If it’s evening, a light night cream is enough. This final layer matters because it locks in the hydration the mask just delivered.
Those seven steps are the core of how to use mummy mask & its benefits in a way that actually shows on your skin.
Benefits of a Mummy Mask: What Worked for Me and What Didn’t
Every blogger writing about how to use mummy mask & its benefits should be honest about what a mask can and can’t do. Here’s my verdict.
1. Instant hydration and a soft, plump look. This is the most noticeable result. After 15–20 minutes of occlusion, the skin feels visibly more hydrated. The effect is temporary, but it’s real, and it’s why people love masks before an event.
2. A fresher, more even-looking glow. Well-hydrated skin reflects light better. My skin looked less dull and a little more even immediately after use. Notice the wording: “looks,” not “permanently changes.”
3. Better contact than a regular sheet mask. Because strips can be adjusted, I had fewer gaps around the nose, chin, and jawline. That meant more even coverage across my face.
4. A calming self-care ritual. Underrated, but true. A weekly mask session gets you to slow down. A relaxed routine is easier to stick to, and consistency is what makes skincare work.
5. Helps your next products absorb. A hydrated surface lets serums and moisturisers feel smoother when applied afterwards.
What it will NOT do: a mummy mask won’t erase deep pigmentation, remove acne scars, or reverse ageing. Anyone who claims otherwise is selling you something. It’s a hydration-and-glow booster that supports a good routine. It doesn’t replace one.
Which Skin Types Should Use It?
- Dry skin: Big win. Hydration is what you’re missing.
- Oily and combination skin: Choose a lightweight, water-based formula and keep sessions short.
- Dull or tired skin: Good for a quick refresh, especially before events or after travel.
- Sensitive skin: Possible, but patch test first. Avoid heavily fragranced products.
- Active acne or open wounds: Skip it until the skin calms down, or check with a dermatologist.
If you’re pregnant, have a skin condition such as eczema or rosacea, or are on prescription actives, get a dermatologist’s okay before adding new products.
Common Mistakes People Make
Most people who read about how to use mummy mask & its benefits skip the boring details, and that’s where problems start.
Leaving it on for too long. More time doesn’t mean more benefit. Once the strips dry out, they can start pulling moisture back out of your skin.
Skipping the patch test. Test a small patch behind your ear or on your inner arm and wait 24 hours. It takes a minute and can save you a rash.
Using it on unclean skin. See Step 1.
Forgetting moisturiser afterwards. The mask gives hydration, and the moisturiser keeps it there. Skipping the second part wastes the first.
Using it every day. Unless the pack says it’s meant for daily use, once or twice a week is plenty.
Expecting overnight miracles. Treat it as a boost, not a treatment.
How Often Should You Use a Mummy Mask?
For most skin types, one to two times a week works well. I use mine on Sunday evenings and again mid-week if my skin looks tired. If you’re prepping for a wedding or event, a session two days before, not on the day itself, lets you check for any reaction.
How to Fit a Mummy Mask Into Your Routine
Understanding how to use a mummy mask & its benefits is easier when you see where it fits in a full evening routine:
- Oil or balm cleanser (if wearing makeup or sunscreen)
- Gentle face wash
- Toner or essence
- Mummy mask (15–20 minutes)
- Serum (optional, depending on what the mask contains)
- Moisturiser
- Eye cream (if you use one)
In the morning, keep it simple: cleanser, light moisturiser and sunscreen. Sunscreen is the real anti-ageing hero, and no mask replaces it.
Ready to try one? The A+ Advance 3D Mummy Mask (5 strips) is what I used for this guide.
Mummy Mask vs Sheet Mask vs Peel-Off Mask
| Feature | Mummy Mask | Regular Sheet Mask | Peel-Off Mask |
|---|---|---|---|
| Format | Layered strips | Single sheet | Gel or rubber layer |
| Fit on face | Customisable | One-size, may gap | Applied by hand |
| Main benefit | Hydration, even coverage | Hydration | Surface cleansing/exfoliation |
| Mess level | Low–medium | Low | Medium |
| Best for | Dull, dry skin | Quick hydration | Pore-area refresh |
Top 10 Skincare Brands Compared
One of my most common questions is “Which brand should I trust?” Not every brand makes a mummy mask, but most are known for masks or hydration products, so I compared them on that basis. I focused on what each brand is best known for. Prices change often and vary by seller, so I’ve used budget, mid-range, and premium tiers instead of exact figures. Always check the current price and ingredient list before buying.
| # | Brand | Best Known For | Mask / Hydration Strength | Price Tier | Best For |
|---|---|---|---|---|---|
| 1 | A+ Professional Range | Salon-style Korean facial kits, mummy masks, D-Tan packs, serums | Strip masks, peel-offs, facial kits; nano-based formulas | Budget–Mid | Salon-like care at home, Indian skin concerns like tan and dullness |
| 2 | Innisfree | Nature-inspired Korean skincare | Sheet masks, clay masks | Mid | Daily-use masks, gentle formulas |
| 3 | Laneige | Hydration-focused K-beauty | Overnight sleeping masks | Premium | Dry skin, overnight hydration |
| 4 | COSRX | Targeted, ingredient-led products | Snail-based and acne-focused products | Mid | Acne-prone, simple routines |
| 5 | Mediheal | Sheet mask specialist | Wide range of single-use sheet masks | Mid | Sheet mask variety by concern |
| 6 | Dr. Jart+ | Dermatology-inspired Korean brand | Dermask range, cica products | Premium | Sensitive, stressed skin |
| 7 | Mamaearth | Natural, toxin-free positioning | Face masks and sheet masks | Budget | Natural-ingredient lovers |
| 8 | Dot & Key | Fruit and vitamin-based care | Hydration masks, vitamin C products | Budget–Mid | Glow, hydration, young skin |
| 9 | Minimalist | Single-active serums | Few masks; known for serums | Budget–Mid | Ingredient-focused users |
| 10 | The Derma Co | Active-ingredient products | Targeted treatments, some masks | Budget | Targeted concerns on a budget |
My take on the table: Mediheal and Innisfree are strong if you want a classic sheet mask experience. Laneige is excellent for overnight hydration. COSRX, Minimalist, and The Derma Co are better for targeted treatment than for masks. A+ Professional Range stands out for people who want a salon-style, strip-based experience at a pocket-friendly price. Its site says its formulas use nano-based technology and are UK-certified, and the brand positions itself around professional, salon-grade skincare you can use at home. As with any brand’s claims, read the ingredient list and judge by how your own skin responds.
Why I Recommend Starting With the A+ Advance 3D Mummy Mask
I don’t recommend things lightly. For someone learning how to use mummy mask & its benefits, I like this one for three reasons:
- Beginner-friendly format. Five strips are easy to layer, even if you’ve never done it.
- Value. At around ₹490 for a 5-strip pack on the brand’s site, it’s an accessible way to test the format without a big investment.
- Pairs well with the rest of the range. If you want a fuller routine later, the brand also offers Korean glass facial kits, serums, and D-Tan products.
Check the product page for current pricing, ingredients, and usage instructions. 👉 A+ 3D Mummy Mask
My Pro Tips After Two Years of Mask Testing
- Chill it. Keep your mask in the fridge for 10 minutes before use. It feels incredible on a hot Delhi afternoon and helps with puffiness.
- Use the leftover essence. Spread it over your neck and the back of your hands.
- Time it right. Do your mask 1–2 hours before a special event for the best-looking skin.
- Don’t mix with strong actives right after. Avoid applying retinol or strong acids straight after a mask if your skin is sensitive.
- Track your skin. Take a photo in the same light every week. Real results show over weeks, not minutes.
Frequently Asked Questions
Q1: What is the easiest way to learn how to use mummy mask & its benefits?
Follow the seven steps above: cleanse, tone, prep the strips, layer, wait, remove, moisturise. Do a patch test first and stay within the time on your pack.
Q2: Can I use a mummy mask every day?
Not usually. Once or twice a week is ideal for most skin types. Daily use makes sense only if the manufacturer says the product is designed for it.
Q3: Is a mummy mask good for oily skin?
Yes, if the formula is lightweight and water-based. Keep sessions short and follow with a gel moisturiser.
Q4: Does a mummy mask remove tan or pigmentation?
No. It improves hydration and glow, but tan and pigmentation need targeted products like D-Tan masks, vitamin C serums, and daily sunscreen.
Q5: Should I rinse my face after removing the strips?
Generally no. Massage in the remaining essence and follow with moisturiser, unless your pack says otherwise.
Q6: Is it safe for sensitive skin?
It can be, with a patch test and a fragrance-free or gentle formula. If you notice redness, stinging, or itching, remove the mask and rinse with cool water.
Final Thoughts
If I could give you only one takeaway about how to use mummy mask & its benefits, it would be this: consistency and technique beat hype. A mask is not a miracle, but when you cleanse well, follow the timing, seal it in with moisturiser, and wear sunscreen, it becomes one of the most enjoyable parts of a routine.
Understanding how to use mummy mask & its benefits also helps you avoid the most common mistakes, like over-leaving, over-using, and skipping the patch test. Start small with a once-a-week session, watch how your skin responds, and build from there.

